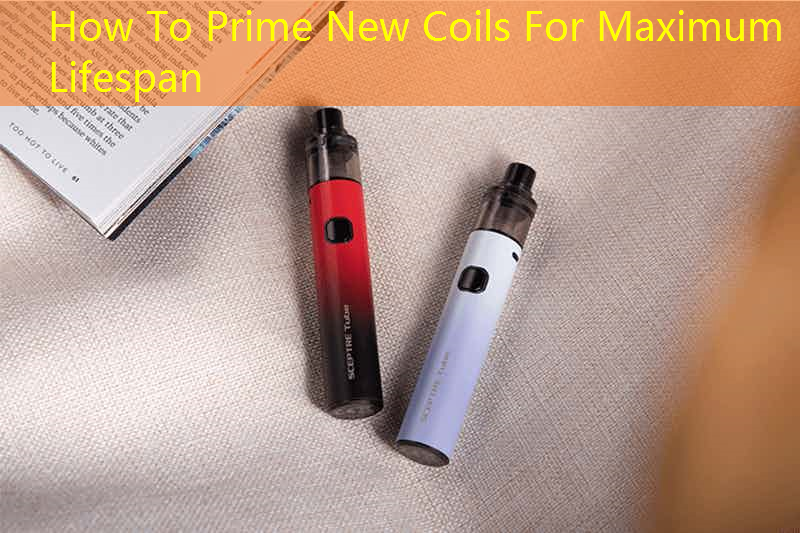
Introduction to Priming New Coils
Thaum nws los vaping, Lub sijhawm ua haujlwm ntev thiab kev ua tau zoo ntawm koj lub cuab yeej hnyav nyob ntawm seb koj tuav koj cov coils. Cov txheej txheem ntawm kev ua cov kauj tshiab yog qhov tseem ceeb rau kev ua kom tiav uas koj ua tiav qhov siab tshaj plaws lifespan thiab optimal qab. Hauv phau ntawv qhia no, Peb yuav tshawb txog cov kev coj ua zoo tshaj plaws rau kev ua lag luam tshiab coils, Pab koj ua tshaj plaws ntawm koj txoj kev vaping.
Understanding Coils and Their Importance
Coils are the heart of any vaping device, Lub luag haujlwm rau cua sov e-kua los tsim vapor. Lawv muaj cov hlau qhwv ib ncig ntawm cov khoom siv wicking, feem ntau paj rwb. Qhov zoo tshaj ntawm cov kauj thiab cov nyib tuaj yeem cuam tshuam ntau rau cov vapor ntau lawm, Sib txig siv, and overall satisfaction of your vaping experience. Yog li ntawd, properly priming your coils is essential to prevent dry hits and extend their use.
Steps to Prime New Coils
Priming new coils involves saturating the wick material before the first use. Follow these steps to ensure thorough priming:
1. Prepare Your New Coil
Begin by removing the tank from your device and taking out the old coil. Insert the new coil into the tank but do not connect it to the battery yet. This is vital as the coil needs to be filled with e-liquid before heating.
2. Drip E-Liquid on the Wick
Use a dropper to apply a few drops of e-liquid directly onto the exposed cotton wick of the new coil. Ensure that you cover all sides of the wick to help it absorb the liquid effectively. This process kickstarts the saturation of the cotton, reducing the chances of burning it.
3. Fill the Tank
Once the wick is properly saturated with e-liquid, refill the tank with your chosen e-liquid. Make sure the tank is not overfilled, as this can lead to leaks. Securely attach all components of the tank back to your device.

4. Let it Sit
Before you begin vaping, it’s important to let the tank sit for at least 5-10 feeb. This waiting period allows the e-liquid to fully soak into the wick, ensuring that it is adequately saturated. Rushing this step can lead to a dry hit or burnt taste.
5. Start Vaping at Low Wattage
Once the waiting time has passed, it is advisable to start vaping at a lower wattage setting. Gradually increase the wattage to your preferred level after a few puffs. This gradual increase helps to further saturate the wick and prevents overheating.
Maintaining Coil Lifespan

To maximize the lifespan of your coils, practice good maintenance. Regularly clean your tank, avoid using overly sweet e-liquids that can cause coil gunk, and change out your coils every two weeks or as needed. Ntxiv rau, give some time between vaping sessions for the coil to cool down, which helps prolong its life.
Tag
Priming new coils is a straightforward yet vital part of the vaping process that can significantly impact your overall experience. By following the steps outlined in this guide, you’ll ensure that your coils not only perform at their best but also last longer, saving you money and enhancing your enjoyment of vaping. Adopting these practices will make a noticeable difference in flavor and vapor production, so make them a part of your routine today.


